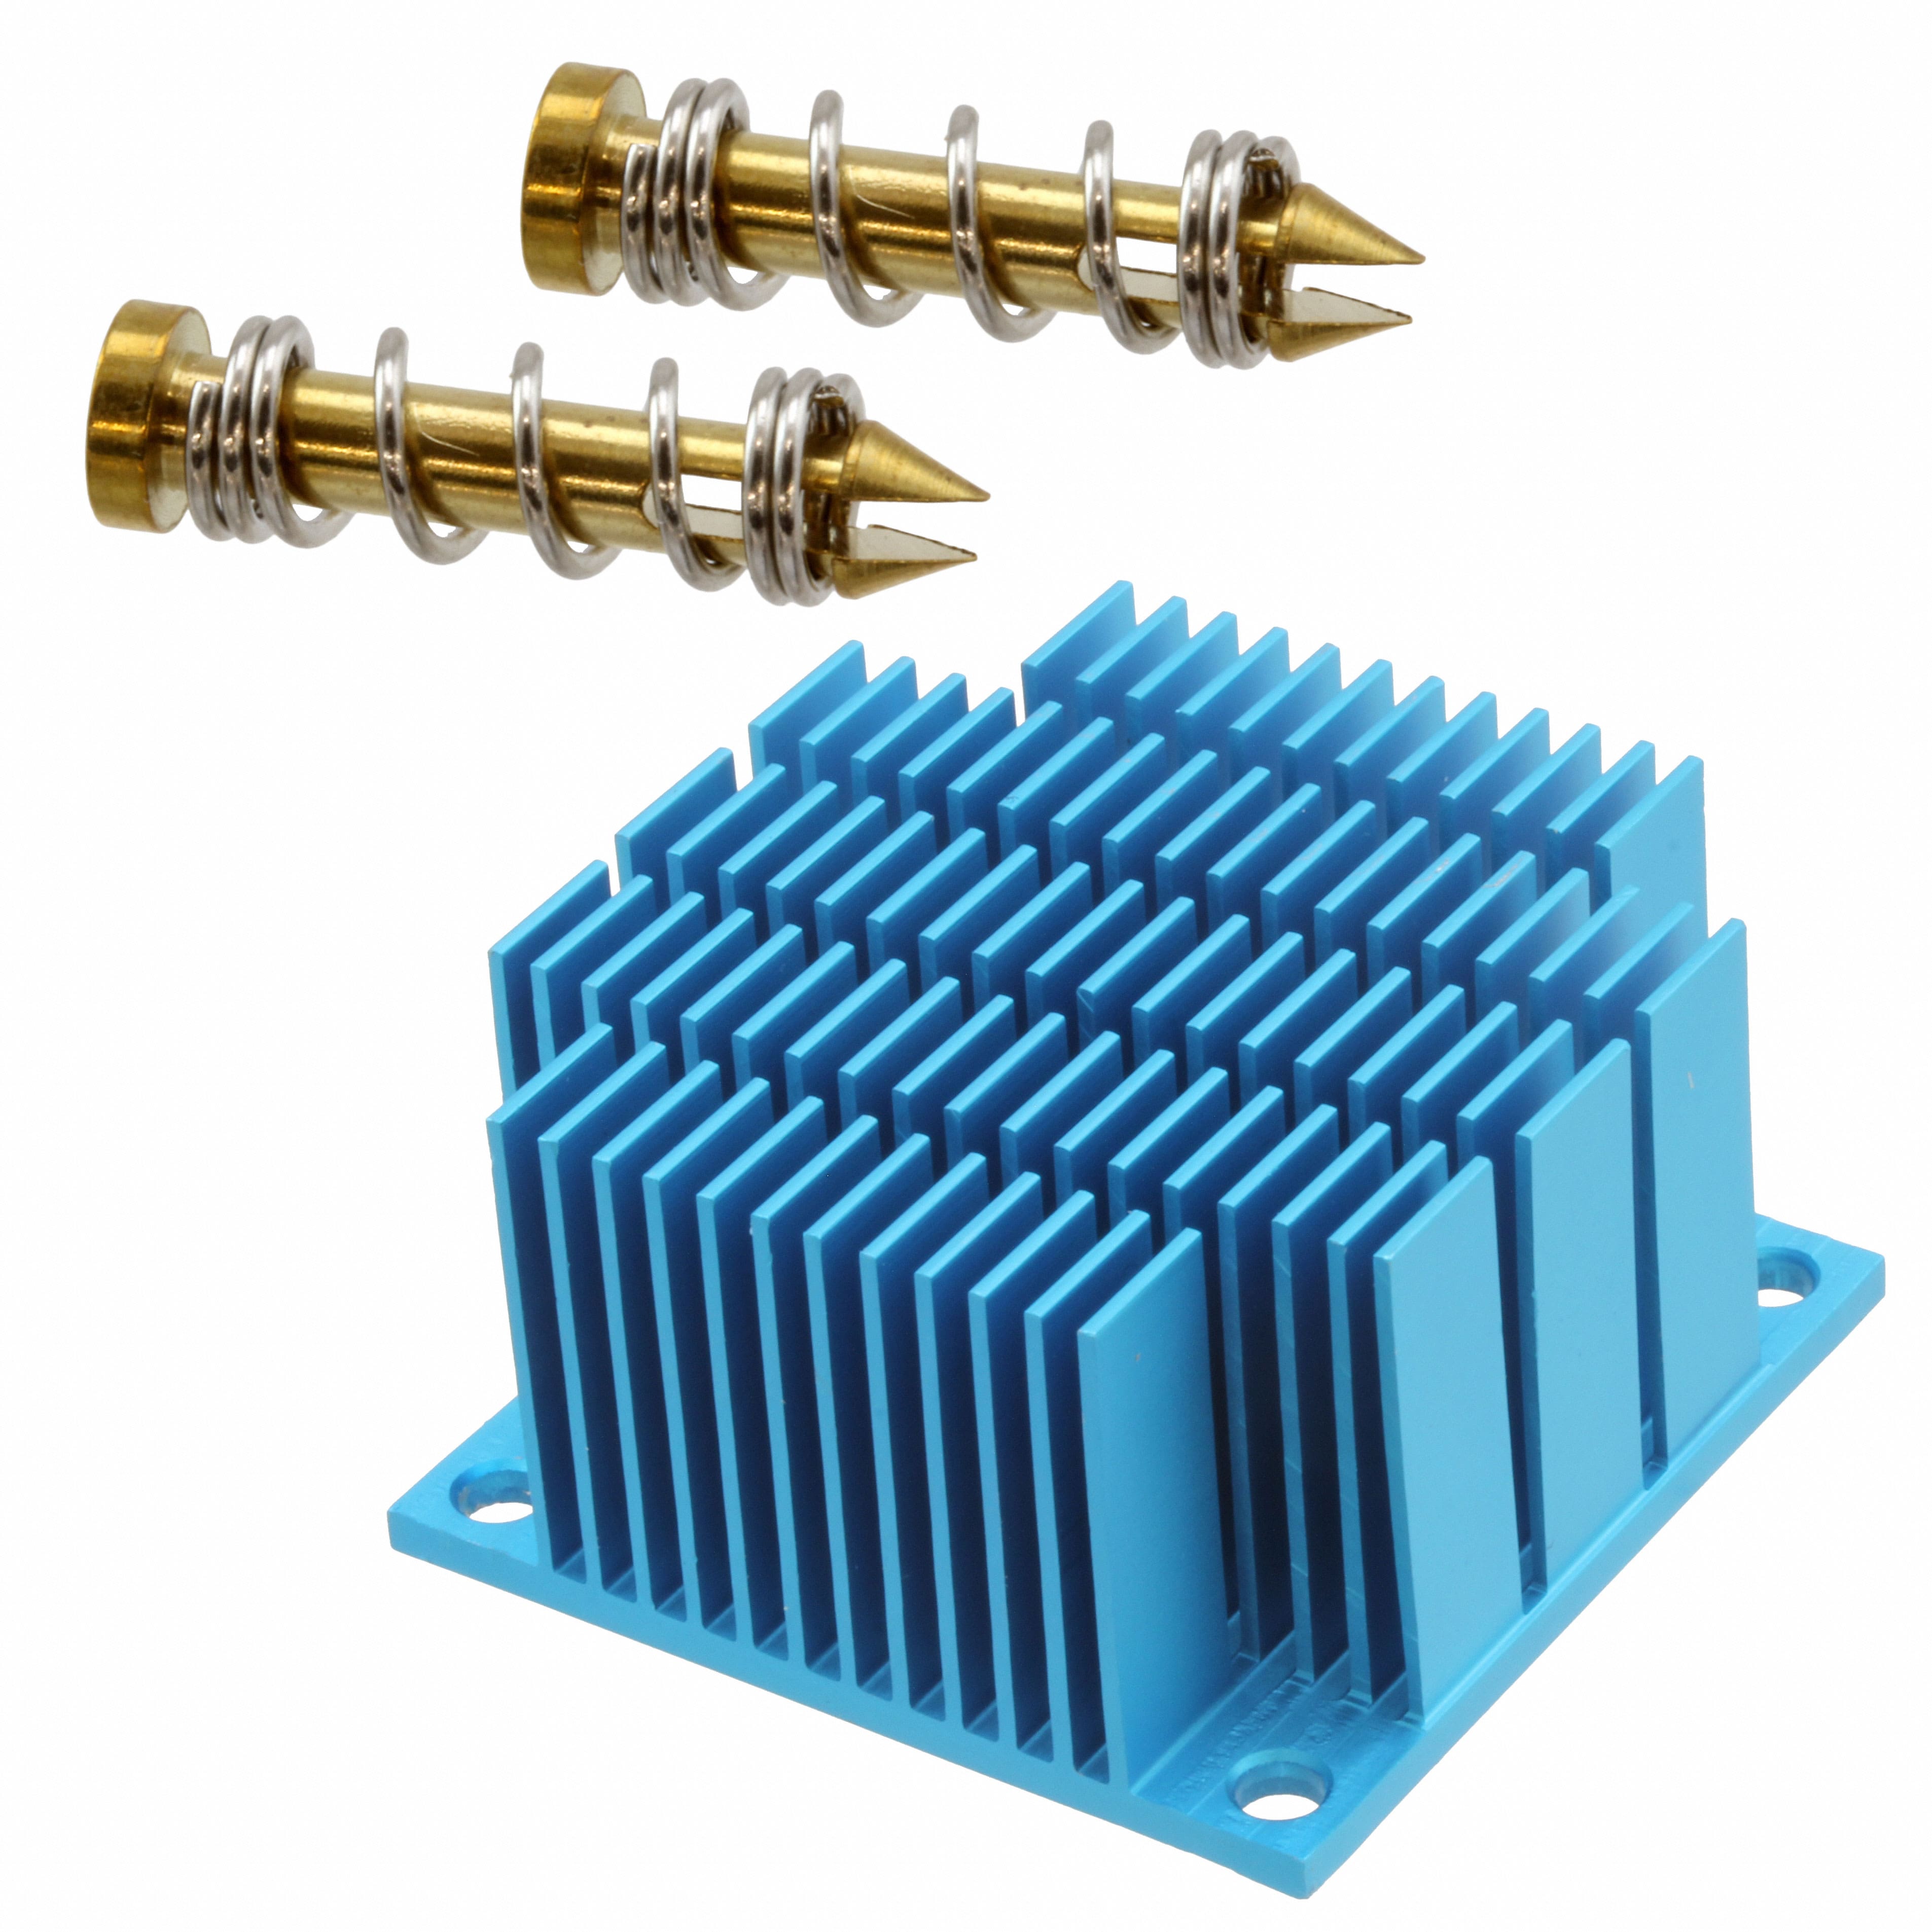
Troubleshooting Guide: HEATSINK 45X45X30MM L-TAB T766 (ATS-11D-163-C2-R0)
The ATS-11D-163-C2-R0 is a 45x45x30mm L-tab heatsink from Advanced Thermal Solutions, designed for TO-220, TO-247, and similar power packages where the tab must be clamped to a vertical surface. In my experience, most "heatsink failures" are not the heatsink at all — they are interface, mounting, or airflow problems that only show up once the unit is in the field. Below is a practical guide drawn from customer returns and bench debugging.
Typical failure modes and root causes. The most common complaint is thermal runaway under load. Root causes usually fall into three buckets: insufficient mounting pressure (the L-tab screws are torqued unevenly), dried or missing thermal interface material, or blocked convection paths because the fins were oriented horizontally instead of vertically. A second failure mode is mechanical: the L-tab cracks at the bend radius when installers over-torque the 4-40 or M3 screws. A third is electrical — the anodized finish on some batches is thin enough that the tab shorts to a nearby trace if the PCB lacks a keep-out. Finally, corrosion appears in humid environments when dissimilar metals (aluminum heatsink, steel screw, copper pad) create a galvanic couple.
Step-by-step debugging methodology. Start by measuring the case temperature of the device, not the heatsink. Attach a K-type thermocouple with epoxy or Kapton tape directly to the package tab. Then measure the heatsink base temperature within 5mm of the tab. If the delta exceeds 5°C at steady state, your interface is bad. Next, verify airflow with a hot-wire anemometer at the fin inlet and outlet. A 45x45x30mm extrusion needs roughly 200 LFM to hit its rated 2.5°C/W. If you see less than 100 LFM, the problem is the enclosure or fan, not the heatsink. Finally, de-rate: run the circuit at 25%, 50%, and 100% load and plot case temperature versus power. A linear slope means the thermal path is intact; a knee means the TIM is pumping out or the screw has loosened.
Common schematic and layout mistakes. On the schematic, engineers often forget that the heatsink tab is electrically connected to the collector or drain on many TO-247 devices. If you tie the heatsink to ground through a mounting screw, you create a short. Always use an insulating pad or a nylon shoulder washer. On the PCB, placing the heatsink over vias or test points is a classic error — the L-tab will short them. Keep a 2mm keep-out around the tab footprint. Also, do not route sensitive analog traces under the heatsink; the thermal gradient causes offset drift. And never rely on the PCB copper as the primary heat spreader for this part; the L-tab is designed to bolt to a chassis or a dedicated bracket.
Verifying authenticity and quality. Advanced Thermal Solutions parts have a laser-etched logo and part number on the base. Counterfeits often lack the etch or use a different font. Check the finish: genuine units have a uniform, matte black anodize with no pitting. Measure the fin thickness with calipers — should be 1.0mm ±0.1mm. Weigh the part: the ATS-11D-163-C2-R0 is approximately 38 grams. A counterfeit will be lighter because of thinner fins or a hollow base. Finally, check the L-tab bend radius; a sharp crease indicates poor manufacturing and will crack under vibration.
Measurement techniques and equipment. Use a calibrated thermal imager for quick screening, but confirm with a thermocouple for absolute values. A data logger with 0.1°C resolution is ideal. For interface resistance, use a thermal resistance tester or the ASTM D5470 method if you have access. For airflow, a vane anemometer is fine for large ducts, but a hot-wire anemometer is needed near the fins. Always measure at steady state — at least 30 minutes after load application. And remember that IR thermometers misread shiny aluminum; apply a matte black dot or use a thermocouple.
When to suspect the component vs. the circuit. Suspect the heatsink only if you have verified: (1) proper torque (typically 0.5 N·m for M3), (2) fresh TIM with no dry-out, (3) adequate airflow, and (4) no electrical short. If all four are good and the case temperature still exceeds the datasheet limit, then the heatsink may be undersized for your ambient. In that case, the circuit design is at fault — you need a larger heatsink or forced air. Conversely, if the heatsink is hot but the case is cool, the interface is the problem. If the heatsink is cool but the case is hot, the mounting pressure is insufficient.
Real-world case studies. A customer reported 120°C case temperatures on a motor driver using this heatsink. They had mounted it with a single screw and no TIM. After adding a thin layer of phase-change material and torquing both screws to 0.5 N·m, the case dropped to 78°C. Another case: a power supply failed EMC testing because the heatsink acted as an antenna. The fix was to ground the heatsink with a dedicated spring clip, not a screw through the tab. A third: a unit shipped to a humid climate developed green corrosion on the tab. Switching to stainless steel screws and adding a conformal coating solved it. In every case, the heatsink itself was fine — the surrounding design was the culprit.
HEATSINK 45X45X30MM L-TAB T766
Advanced Thermal Solutions Inc. | ATS-11D-163-C2-R0 | $7.74