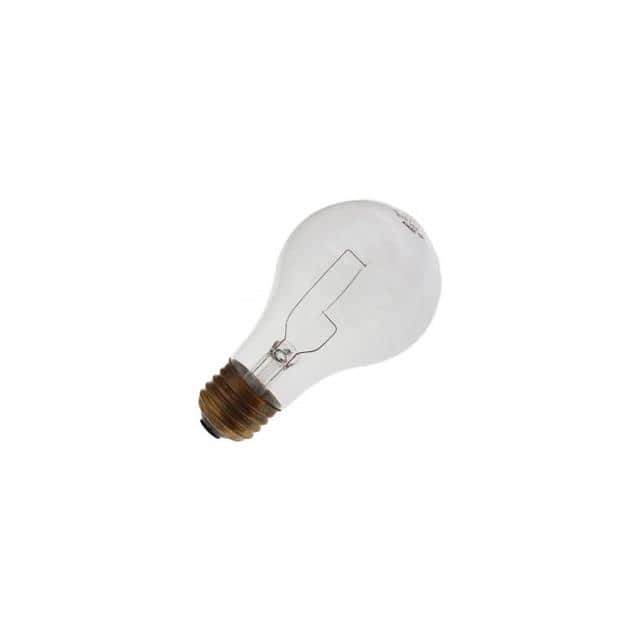
Troubleshooting the 40A/CL/99/XL 130V (WX-EHV1-2) Component
When customers call me about the Interlight 130V lamp (SKU WX-EHV1-2), the conversation usually starts with "the lamp keeps blowing" or "the lamp doesn't light at all." This is a 130V-rated incandescent-style lamp used in legacy equipment, indicator panels, and older control systems, so most failures trace back to voltage stress, inrush current, or mechanical vibration rather than exotic semiconductor physics. Here is how I approach these circuits in the field.
Typical failure modes and root causes. The most common failure is an open filament caused by steady overvoltage — running a 130V lamp on a 140V+ rail shortens life dramatically, often to a few hundred hours. The second most common is inrush-induced filament fatigue: cold filament resistance is roughly one-tenth of hot resistance, so every switch-on produces a current surge that mechanically stresses the filament. Vibration and thermal cycling crack the filament support wires, producing intermittent operation that becomes permanent. On the electrical side, a shorted or leaky lamp is rare but does happen when the filament sags and touches the support structure, which can take out a series resistor or driver transistor. Finally, contact corrosion at the socket creates a high-resistance junction that both dims the lamp and generates heat, eventually melting the socket.
Step-by-step debugging methodology. First, measure the actual supply voltage at the lamp socket under load — not at the power supply output. I have seen a "130V" rail sag to 118V or spike to 145V because of a failing regulator or a miswired transformer tap. Second, disconnect the lamp and measure filament continuity with a DMM; a good lamp reads a few hundred ohms cold, an open one reads infinite. Third, check the socket and wiring for corrosion, loose crimps, and heat discoloration. Fourth, substitute a known-good lamp and observe brightness and color; a noticeably bright, whitish lamp means overvoltage. Fifth, if the lamp fails repeatedly within hours, scope the supply for transients and check whether the lamp is being switched by a relay with no suppression across the coil. Work from the lamp backward to the supply, and never skip the socket — it is the most overlooked failure point.
Common mistakes in schematic design and PCB layout. Designers routinely omit inrush limiting — a small NTC thermistor or a series resistor in the lamp leg pays for itself immediately. Another frequent error is sizing the series resistor for nominal current only, ignoring the cold-filament surge, so the resistor runs hot and drifts. On the layout side, placing the lamp connector far from the switching element with long, thin traces adds inductance and voltage drop; keep the lamp return path short and wide. Do not route lamp wiring alongside sensitive analog signals, since the switching transients couple easily. And always leave a bleed path or snubber across any relay or triac driving the lamp.
Verifying authenticity and quality. Interlight parts are often sourced through distribution, so check the SKU (WX-EHV1-2) against the packaging and the vendor's documentation. Look for consistent base crimping, clean glass, and a filament that sits centered — off-center filaments indicate poor manufacturing and short life. Measure a sample of lamps cold: resistance should cluster tightly around the datasheet value; wide spread suggests inconsistent windings. Run a small batch at rated voltage for 24 hours and compare failure rates; counterfeit or re-labeled lamps typically show early failures.
Measurement techniques and equipment. Use a true-RMS DMM for the supply voltage, a current clamp or series shunt for lamp current, and a scope with a 10x probe to capture inrush and switching transients. A thermal camera or IR thermometer quickly finds hot sockets and resistors. For life testing, a Variac lets you characterize behavior at 110–140V. Always measure at the lamp terminals, not the supply, and record both steady-state and peak values.
When to suspect the component vs. the circuit. If a replacement lamp from a fresh batch fails the same way, suspect the circuit — voltage, transients, or socket. If lamps fail randomly across known-good fixtures, suspect the batch. A lamp that works fine on the bench but fails in the field almost always points to the environment: vibration, overvoltage, or thermal stress.
Real-world cases. One customer's panel lamps failed every few weeks; the cause was a 145V rail from a mis-set transformer tap, fixed by correcting the tap and adding an NTC. Another had intermittent lamps traced to a corroded socket — cleaning and replacing the socket ended the complaints. A third saw repeated failures from relay switching with no suppression; a 0.1µF snubber across the contacts solved it. In each case, the lamp was the victim, not the culprit.